Supercharger Build on my 2.2L G5

cobalt123

Platinum Member
Joined
Jul 18, 2009
Posts
15,200
Reaction score
4
Location
Tyler Texas
yup, my endplate is off bout to get welded for dual pass

---------- Post added at 03:07 AM ---------- Previous post was at 03:06 AM ----------

lol yea, and I saw you post on css for the stock HE, stay way from it, a front mount cobra is way easier, the lsj requires more work, you have to remove the hood lock assembly and the fan and then some custom work to mount it, I went ahead and bought a cobra and will run them both or just the lsj

i didnt think a cobra by itself was good enough i was going to use both
 

Tom

Full Access Member
Joined
Jul 29, 2009
Posts
1,169
Reaction score
0
Location
Houston TX
Little update,
I now see what Becks wiring explanation really meant, Once I saw the harness it was crystal clear.
The 2.2 fuel injectors harness has +1 plug over the stock Lsj's, and that extra is the Map, So with that figured out the stock 2.5bar map should be really simple to connect, just a matter of getting the 2.5 harness run the old map wire to it, and then remove the tan and black wire from the MAF and wire that to the new Map as well...But as I'm taking apart the pins from there F.I harness, I notice the 2.2's prong's for the injectors, are larger and secures different then the Lsj, So I will end up using a universal crimp barrel or something along those lines(So i can keep the 2.2 pins undamaged, if it every needs to return to stock)
 
Last edited:

Tom

Full Access Member
Joined
Jul 29, 2009
Posts
1,169
Reaction score
0
Location
Houston TX
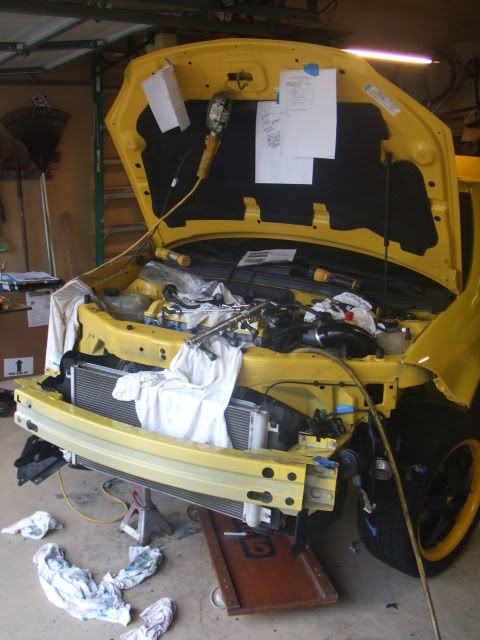
Build day 2

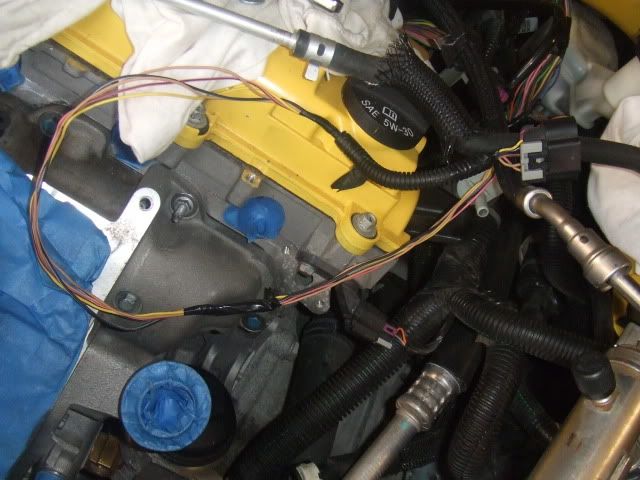
The injectors are wired, I found they cannot be repined, due to the stock pins being larger but I just cut the lsj harness, inserted the wire into the prong and soldered them shut, that way if it needs to return to stock, the pins are still there un-damaged.

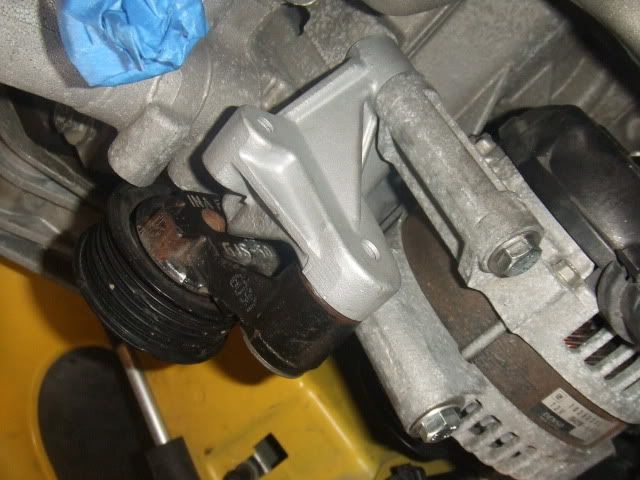
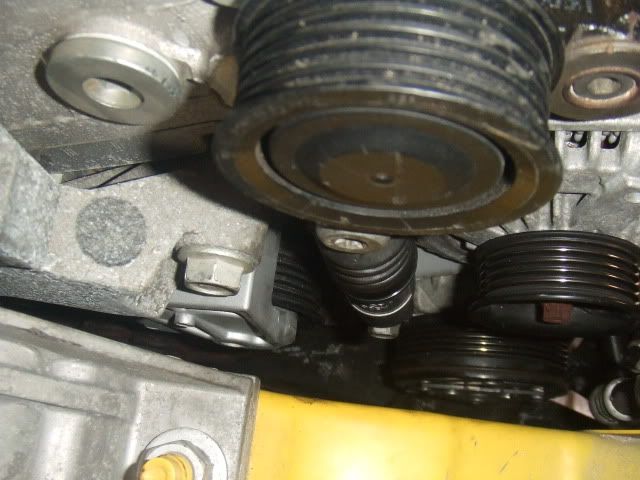
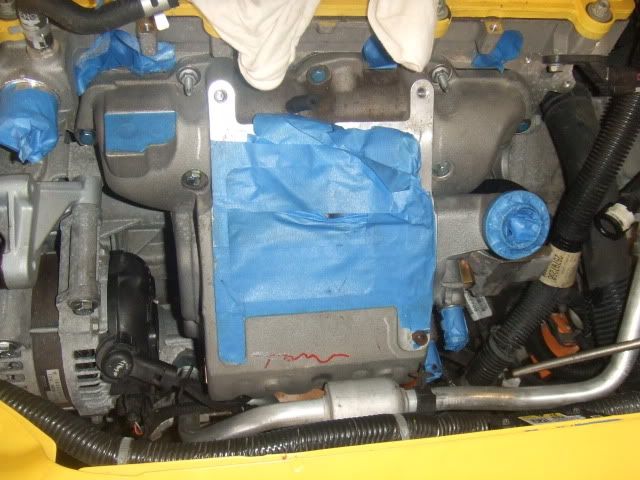
The Idler and tensioner pulleys are in, Like mentioned in other how to's I had to ground down some boss's on the block for it to fit.
BuildDay2014.jpg


BuildDay2015.jpg


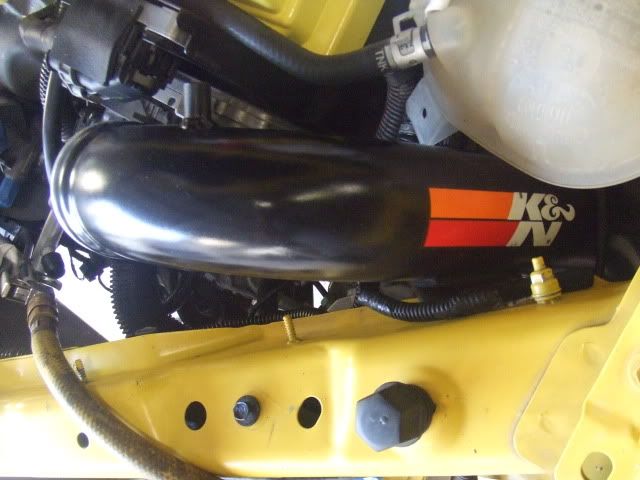
Dry fitted the air intake and made some slack for the MAF sensor
BuildDay2013.jpg

BuildDay2018.jpg


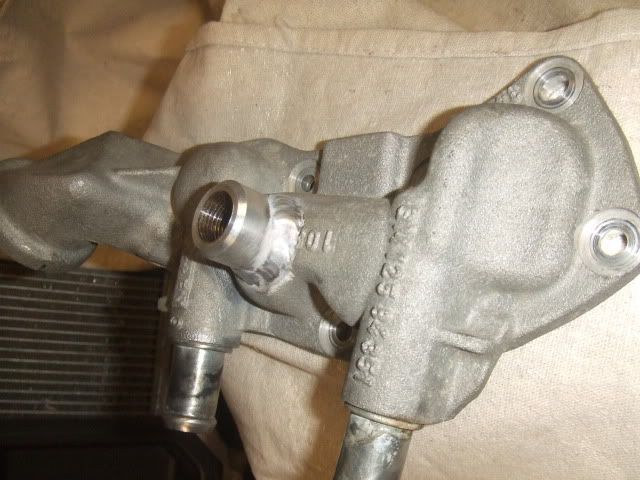
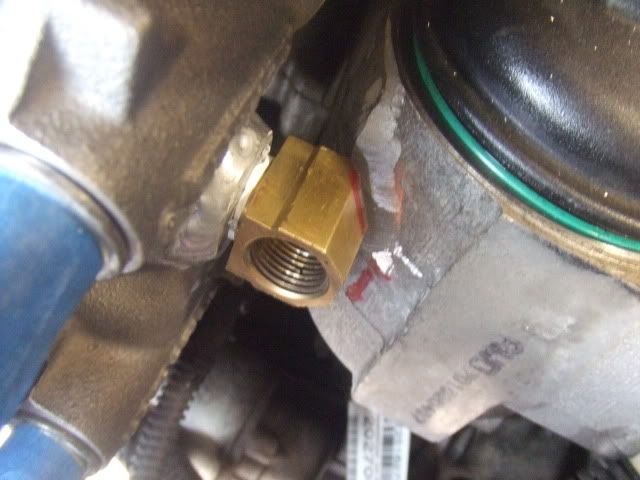
Intake mani installed, But I did have to edit my dual pass, the boss was to tall like some of you thought, and I grounded some off the 90 fitting as-well and the mani slide in like butter.
before I cut down the added boss
M62CleanUp014.jpg

after
BuildDay2012.jpg

BuildDay2017.jpg


BuildDay2009.jpg


Im waiting on my secondary heatexchanger, I may just run the lsj's alone and install the cobras once it comes in.

There is very little left
-cut the belt
-run the plumbing
-bolt down the m62
-weld in the o2 bung for the wideband

and thats about it.
 

Tom

Full Access Member
Joined
Jul 29, 2009
Posts
1,169
Reaction score
0
Location
Houston TX
You make the build look so easy but I bet is not:rofl:

Its honestly not bad at all,Especially since I have read the GM build instructions(great info) along with the forums and the local Houston club has been very helpful.
If I weren't a OCD detail nazi, I could of had this done already lol
 

arman14

DiegoO
Joined
Aug 13, 2009
Posts
5,167
Reaction score
0
Location
Houstonee
Its honestly not bad at all,Especially since I have read the GM build instructions(great info) along with the forums and the local Houston club has been very helpful.
If I weren't a OCD detail nazi, I could of had this done already lol

Good to know that.
I always wanted to go sc and you sir are getting me more interested into this.
 

Tom

Full Access Member
Joined
Jul 29, 2009
Posts
1,169
Reaction score
0
Location
Houston TX
Go for it just do your reading, Like I mentioned, I recommend the GM build boook strongly, and then Hunterkillers,Becks and Gene's Build pages/howtos. Gene has tons of info but its not organized, its a build page like mine, where he just continues to post,But he asked alot of the same things I had wondered, and received good answers
 

Members online

Forum statistics

Threads
7,442
Posts
156,482
Members
4,387
Latest member
critty84

Latest posts

Top